Why should you consider creating a whiteboard video? Whiteboard animations would help audiences better retain facts and would increase their chances of liking and sharing the video compared to talking-head videos.
This makes them an ideal video style for creating educational content. There are several variations of the classic whiteboard animation, such as the Blackboard, the Stitchboard, the Glassboard, the Greenboard, and the Notebook animation.
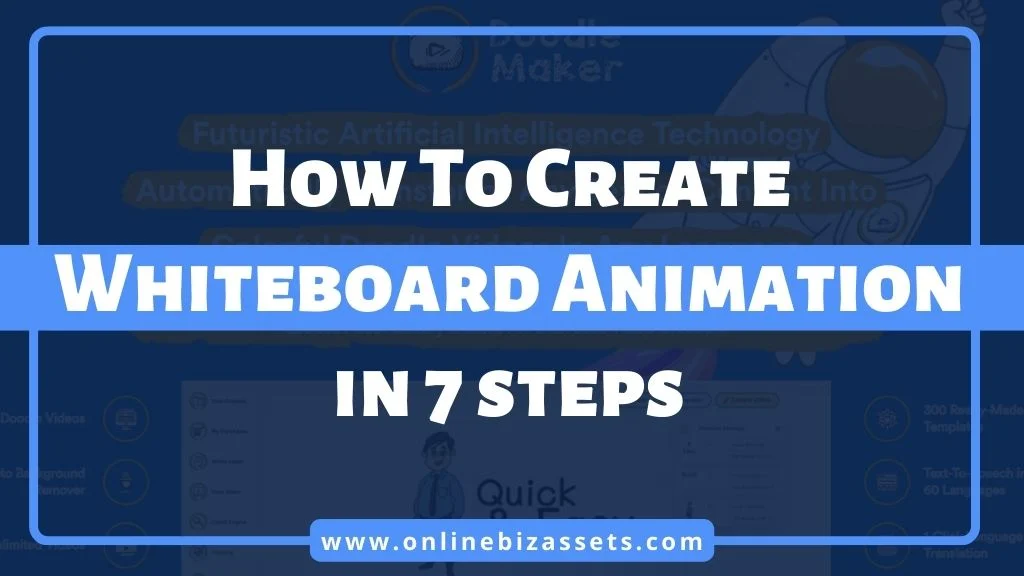
My personal favorite is whiteboard animation. Now, let’s talk about how to create a great whiteboard animation video in 7 easy steps.
Step 1: Write Your Script
Script writing is the first step to creating whiteboard animations. You need a good script to make your video successful, so make sure you put your best effort into making it as good as possible.
When writing your whiteboard animation script, keep it as short (90 seconds to 2 minutes) and impactful as possible. As a rule of thumb, every 130 to 150 words of your script will be approximately equal to 1 minute in video length.
A good whiteboard video can quickly share a lot of information in a short time. Outline the issue your customers and explain how your product can solve it.
You can also check out an AI content generator called Jasper to make the script. But my recommendation is to hire a professional writer to help you develop a strategy that is right for your script.
Step 2: Record Your Voiceover
Once you have finished your script, you can record your voiceover. It is necessary to record your voiceover as soon as you finish writing your script because the voiceover will be used to mark the animation timings during the storyboard stage.
You can either record your voiceover yourself or have it recorded by a professional voiceover artist. I like to use professional text-to-speech apps like Speechelo without dining much work.
For recording your voiceover, make sure you have a good microphone and a soundproof room. Make sure your voice is active and expressive, as a passive monotone will lower engagement.
Step 3: Create Storyboard
Next, you need to create your storyboard. You draw rough sketches of the visual images that will appear during specific time intervals, much like a comic strip. For this, you can use a storyboard template. You can download free storyboard templates online.
Step 4: Create Illustrations
Following the completion of the storyboard, you need to create your illustrations using software such as Adobe Illustrator or Inkscape.
Don’t worry if you’re not comfortable drawing your images or lack the time. You can use stock images available in whiteboard animation software such as DoodleMaker, Doodly, VideoScribe, etc.
I recommend DoodleMaker app because you will get the deal with a one-time price of around $49.
Step 5: Animate Your Video
The next step is to animate your video with your favorite software. In my experience, Adobe Creative Suite is great for creating professional-level animation videos, but it is more suited to experienced users.
If you want a simple and user-friendly tool that requires very little animation experience, try out DoodleMaker, Doodly, VideoScribe, Animaker, Explaindio, GoAnimate, etc.
Step 6: Adding Voiceovers & Sound Effects
Once you are happy with your animation, add your voiceover and sound effects using the software you used to animate your video. If you want professional results, I recommend using audio editing software such as Adobe Audition.
Music and sound effects should complement your video’s story without overshadowing it. You should make sure the sound effects and background music aren’t overpowering your voice-over.
Step 7: Thumbnail & Video Promotion
An engaging thumbnail is crucial for ensuring your hard work in creating the video pays off. An engaging thumbnail will compel people to watch your video.
It is essential to promote your video as well. My favorite method is to create your website or landing page, upload videos, and then share the website link to various social media and youtube. Also, promote using paid advertisements like google ads for the quick result.
- Related: Glorify App Review
- Related: 9 Best Glorify App Alternatives (Free + Paid)
- Related: Why Should I Use Glorify for My Ecommerce Store?
Tips to Make Your Whiteboard Animation More Engaging
Let me go over Six important tips before I leave you to create your whiteboard animation.
Tip 1: Keep Your Sketches Interconnected and Add Suspense
Interconnected sketches are a feature that distinguishes whiteboard animation from other styles like cartoon animation or motion graphics.
By adding interconnected characters, you can maintain suspense and keep viewers anticipating the future of the video. Also, add a twist to the video by adding surprising scenes.
Add your visuals to the same screen without too many cuts or erases so that the video flows smoothly. Making good use of interconnected sketches will ensure greater engagement than constantly erasing the board and starting over.
Tip 2: Set an Emotional Tone
In addition, great whiteboard animations do a better job of evoking emotions in the viewers compared to standard ones. Take into account how your narration, voiceover, and visuals will accomplish this.
Positive and expressive videos usually perform better than dull ones. You’re more likely to get them to take action if you keep them emotionally engaged until the end of the video.
TIP 3: Don’t Use Excessive Color
Generally, whiteboard animations feature a white background and black sketches. This formula works.
Using color excessively, especially in the background, tends to lower the impact of the video because it can distract the viewer from its message.
It doesn’t mean you should never use color, just use it more conservatively. For example, you could use color to emphasize specific points, such as your call to action.
Ensure that the color you choose is suitable to the brand and character and that it effectively conveys your message.
Tip 4: Use Drawing Hand
The drawing hand in a whiteboard animation video is so helpful in convincing people to take action. Through observing the video’s drawing side, we feel included in the particular activity on the video.
You can omit the hand, but you should keep in mind that the hand makes the video more effective.
Tip 5: Make Your Video Short
Ensure your video isn’t too long to get the most engagement out of it. Short, crisp whiteboard videos do better than ones that are long and drawn out. A better video will also decrease both the cost and time of production.
Tip 6: Hire Professionals or Studio
Messages have a much greater value than a video’s cost. There is no point in reaching millions of viewers with the cheapest video.
You should hire a studio if you want to work with someone who has decades of experience and a proven track record.
Animation is no different. You can test a studio’s worth by watching a video and seeing what you remember afterward. You can hire freelancers on Fiverr or Upwork for whiteboard animation explainer videos at an affordable price.
- Related: How to Hire a Freelancer on Fiverr (12 Tips)
10 Best Whiteboard Animation Website
- DoodleMaker
- Doodly
- Renderforest
- Doodleoze
- Explaindio
- Animaker
- Vyond
- VideoScribe
- CreateStudio
- Powtoon
10 Best Whiteboard Animation Studio
- Yum Yum Videos
- Switch Videos
- Cognitive
- Ydraw
- Epipheo
- Breadnbeyond
- Broadcast2world
- Idea Rocket Animation
- Wienot
- Xplai
- Related: Glorify vs VistaCreate (ex – Crello) Comparison
- Related: Glorify App vs Canva
- Related: 29 Best Paid and Free Canva Alternatives
Conclusion – How To Create Whiteboard Animation
Your message can be effectively delivered with a whiteboard animation video. If you don’t want to work on developing and polishing your video, then you won’t see any results from it.
My steps can help, but you need to put time and effort into creating the whiteboard animation video and integrating my tips. As long as you apply the tips strategically, you will see an increase in engagement.
- Related: How to Become a Professional Photo Editor (8 Steps)
- Related: How to Become a Private Photo Editor Without a Degree (5 Steps)
- Related: 10 Best Ecommerce Product Photo Editing Services on Fiverr
- Related: How to Get Your First Photography Clients Fast (4 Steps)